There’s a common email phishing scam that still catches out many organisations. It doesn’t contain links or attempt to steal credentials. It relies on simple email communication, purporting to be from an executive or CEO – tricking employees into making a purchase, often vouchers or credit.
Strictly speaking, adding a generic “external email banner” to emails should make it obvious that these emails aren’t legitimate. However, with the email being from a senior colleague, users can feel pressured to meet a request quickly or simply be blind to the threat.
That’s why it’s always worth adding an additional alert with a more striking warning for emails appearing to be from senior management.
How does it work?
Simply put, we set up a rule in Microsoft 365 that examines all inbound email where the sender’s name includes the name of an exec or senior manager *but* is not an internal email. In other words, someone has sent an email made to look like it’s from someone senior.
The flaw in the plan? If your exec has a common name, you’re going to get a lot of false positives (though you can easily add domains to an exception list).
While not sophisticated, I’ve seen this simple measure be effective in preventing fraud.
How to setup the alert
- Log in to Microsoft 365 with an account with administrative privileges.
- Click Admin on the left-hand menu to enter the Microsoft 365 Admin Centre
- Click Show all to expand the side menu to show all options
- Under Admin centres, click Exchange
- In the Exchange admin center expand the Mail flow option
- Click Rules
- Click + Add a rule then Create a new rule
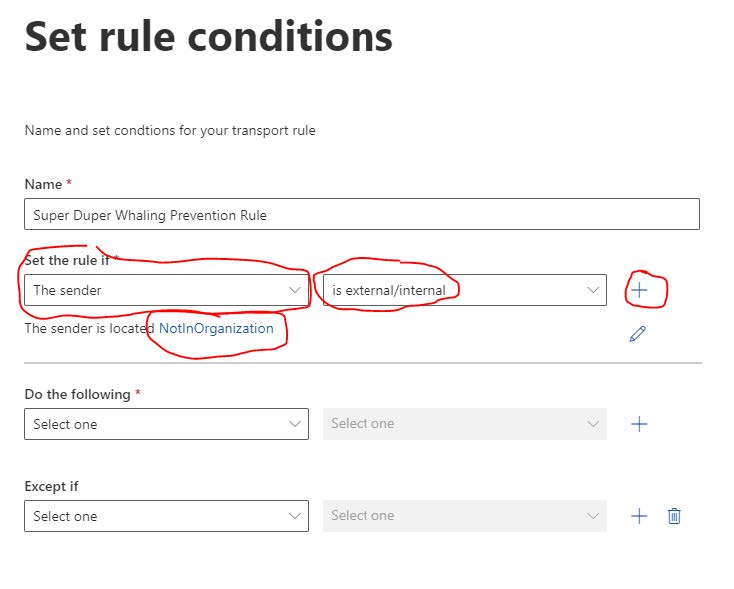
- In the form, give your rule a name (e.g. “Super Duper Whaling Prevention Rule” .
- In first dropdown under Set the rule if… select the option The sender and then select is external/internal from the second dropdown menu, finally select Outside the organisation from the select sender location options:
- Next click the plus symbol to add another condition:
- On the new condition (under the And heading), from the first dropdown select The message headers… and from the second dropdown, select includes any of these words
- Next click Enter text:

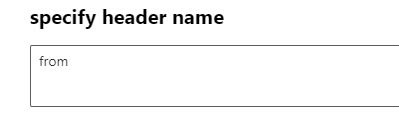
- In the specify header name form that appears, enter the word from and click Save:
- Next click Enter words:

- In the specify words or phrases form, enter the names of the employees (typically senior ones) you want to prevent impersonation of:

- Now click Save
- From the Do the following… drop down select Apply a disclaimer to the message and select the prepend a disclaimer option.
- Click the Enter text hyperlink:

- Enter some text or HTML for a banner, for example:
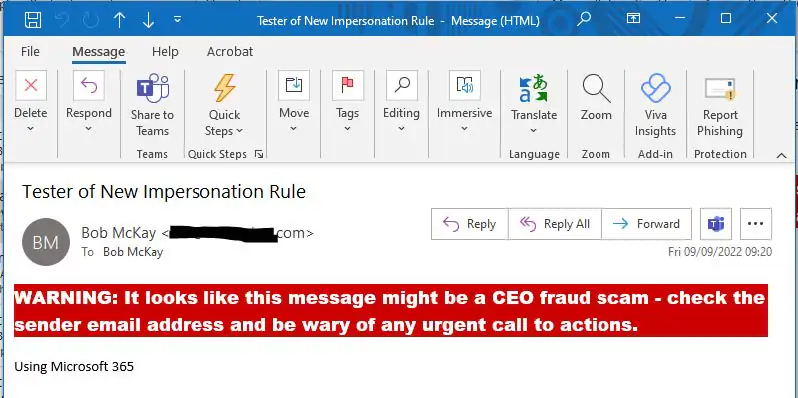
WARNING: It looks like this message might be a CEO fraud scam – check the sender email address and be wary of any urgent call to action.
- Click the *Select one… text and in the specify fallback action, select Wrap from the options.
- Click Next
- Leave the rest of the options (unless you need to tweak them) and click Next again
- Click Finish
The Final Result
You can see a (fairly dramatic) example of what the recipient of an intended impersonation attack could receive below. However you device to format that HTML, it needs to be markedly different from your standard “External email” banner if you have one: